Day Two Walkthrough
Blackwell Legacy
In this walkthrough we take you on an adventure from the moment Rosa wakes up in the morning to the end of the night, up to and including the final cutscene of the game. Below you'll find a detailed write-up, screenshots, and a video.
Joey and his Ghostly Powers
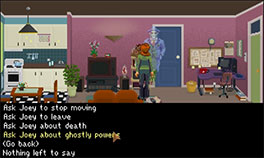
When Rosa awakes in the morning, Joey is, of course, there to greet her. This is another long conversation that can be made quicker and easier with cooperation and acceptance. By the time you are done, however, Joey will have given you your first clue as to the identity of the ghost in the Dog Run at Washington Square Park. She looks like one of the girls in the Photo Kelly gave you.
Talk to Joey again before you leave the apartment. You should then be able to ask about Joey and get an option to ask about his Ghostly Powers. If you don't have this conversation with him, you will have to come back here later just to have it so you can proceed.
Questioning Kelly & JoAnn's Notebook
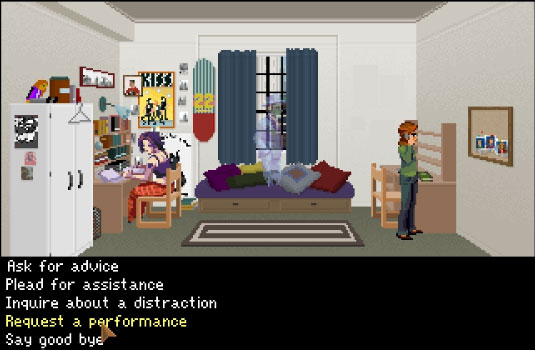
After you have discussed Joey's Ghostly Powers, head over to Brittany Hall Dorm again. You need to talk to Kelly once more and ask her about the girls in the photo. Kelly won't be able to tell you much, but you will get their first names and this will be enough for now.
Before you end the conversation with Kelly you need to ask her permission to take a look around. Kelly will flat out refuse. Don't worry about that quite yet, and end the conversation. What you need to do next is look at the bulletin board above JoAnn's desk. Make sure you click on each photo to inspect it and have Rosa make a comment.
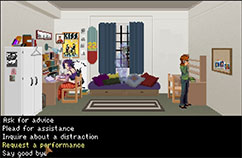
To get the notebook Rosa must ask to use the phone on JoAnn's desk. As soon as she picks up the phone you'll need to click on Joey to make Rosa talk to him. The dialogue option you need is Request another performance. Be ready; as soon as Joey blows on the papers you'll need to click on the notebook to have Rosa take it while Kelly is distracted.
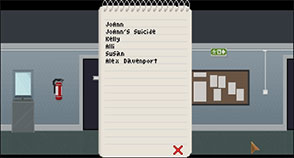
You should take the time now to combine a few clues to get the name Alex Davenport, which you will need shortly. First combine Alexander with Davenport. Then combine Alexander Davenport with Adrian. This will give you Alex Davenport, a name Rosa will have to use soon.

Meeting Alli Montenago
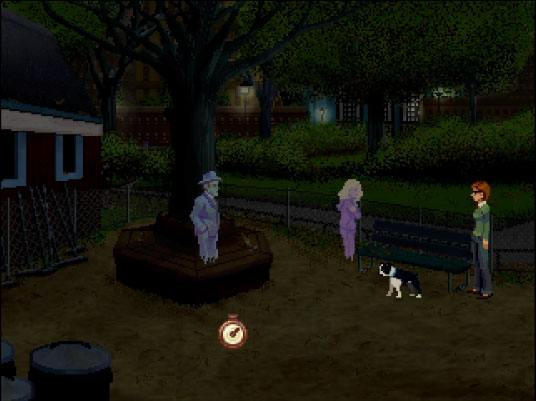
Head back to the Dog Run at Washington Square Park. You need to talk to the ghost and identify her. Then you will be able to ask a few questions and actually get a few answers.
Talk to the ghost and ask her about the following clues: Alli, Susan, and JoAnn. This will give you the last names of her friends, and a new name, the Deacon. Ask her about the Deacon too. Then end the conversation with her. You have learned everything you can from her for now.
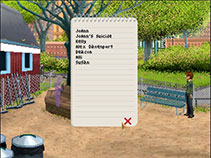
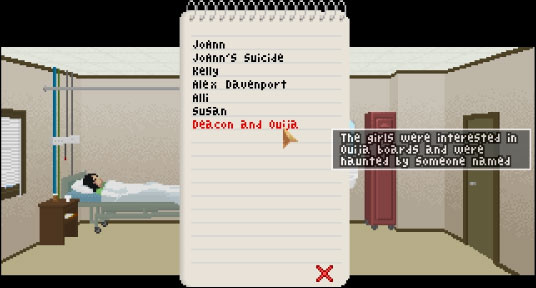
Now you need to head back to Rosa's and use her computer for research. Click on each of the girl's names. This should give you clue that Susan is in Bellevue and Alli was doing research on Ouija Boards and evil spirits. These are the two clues that you need right now. Just make sure you combine the clue Deacon with the clue about Ouija Boards. This will give you the needed clue, Deacon & Ouija Boards.
With the clue Deacon and Ouija Boards in you notebook, you'll need to make another quick visit to the dog run. This time ask the ghost Alli about Deacon & Ouija Boards. She will then confirm that her and her friends did indeed get into trouble with one.
Visiting Susan at Bellevue & Getting Her Pills
Next you need to talk to Susan at the hospital. The problem you'll soon encounter is that Rosa isn't on the approved visitor list. However, if you combine the clues as mentioned above, you already have your solution. Ask the guard a second time to see Susan, and when the choice comes up, blame the fact that your name isn't on the list on the system. He'll then ask for your name again. This time select Alex Davenport.
When you arrive in the room with Susan the conversation will begin automatically. We were honest with her and told her clearly that no, Rosa wasn't a doctor. It doesn't seem to matter much how you get through the conversation, but once you reach the notebook you'll need to use the clue Deacon and Ouija. This will let Rosa get through to Susan, who will then be totally cooperative.
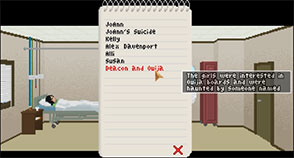
Ask her about herself and her friends, though the most important topic is Alli. You'll learn that Alli loved dogs and was studying to be a vet at the university. This is the key to helping Alli.
When you end your conversation with Susan you will automatically return to the reception desk. Ask to see Susan again. The guard will tell you that you are cleared and send you right on in. This time when you talk to Susan she will be much more coherent and ask you to take her pills out of the room. That is all you need from her. You don't need to ask anything else, so just end the conversation.
A Dog For Alli
Okay, look. This next part is... a bit bent. But it's actually innocent, old school video game logic. And there is still something just a bit wrong in that.
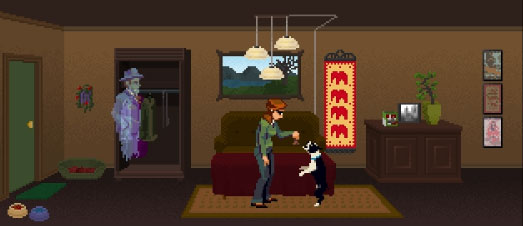
Head back to Nishanti's. We've got to get her dog. And the way to do that is to spike a dog biscuit with Susan's Pills. Yeah... seriously.
Combine the Pills with the Dog Biscuit if you haven't already. Then feed the biscuit to Moti. And sure enough, the little guy will be scratching at the door needing to go.

Laying Alli Montenago To Rest
Once you have given the modified dog biscuit to Moti the rest is scripted. Rosa will take Moti to the Dog Run at Washington Square Park where you'll finally get through to Alli and she'll remember what happened. Then Rosa will take her through the tie and send her on her way. Nice and simple.
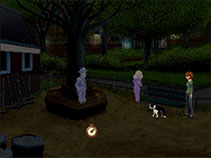
As Joey explains after freeing Alli, you need to go to Bellevue and visit Susan while she is sleeping. Needless to say that is after visiting hours and the guard will not let you in.
To get past the Guard you neet to do the following 3 things:
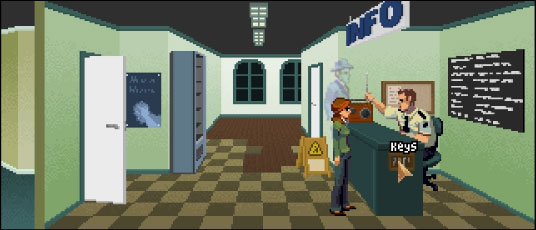
Walk up to the guard at the desk but do not talk to him. Joey will move in close enough to the radio to cause interference. While the guard is fiddling with the radio antenna you can grab a key from the end of the desk. Rosa will take the key to the fuse box when you click on the keys.
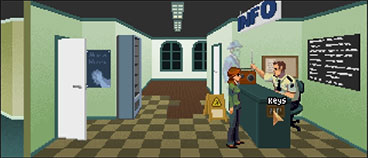
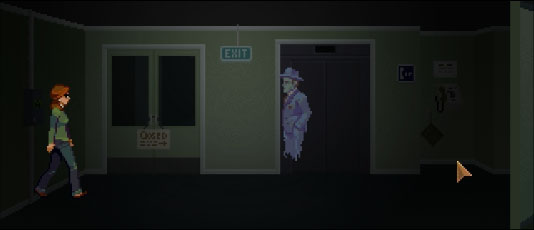
Open the Fuse Box, then activate it again by clicking on it a second time. First take note of the alcove with the phone in it, the one Joey is floating in front of in the screenshot below. That is where you need to go the moment you turn off the lights. You have to click on exactly the right place, at the right time, and only once. Luckily you can keep trying till you get it right.
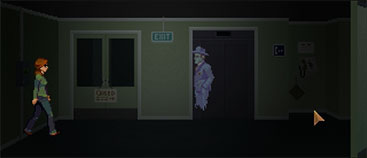
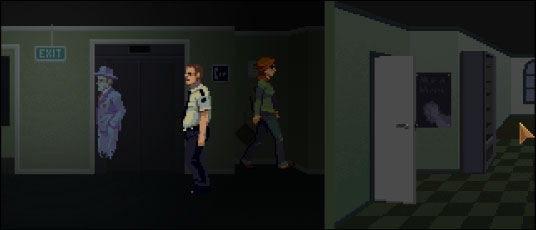
As soon as the guard is past the alcove you need to click in the hallway to have Rosa start towards the far end of the hall. Keep your mouse towards the far corner of the corridor. A little message will appear saying 'around the corner' when your mouse is over the right spot. You need to click this as soon as possible to get Rosa safely out of sight before the lights come back on.
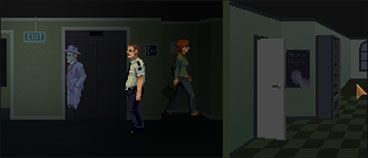
Saving both Susan and the Deacon
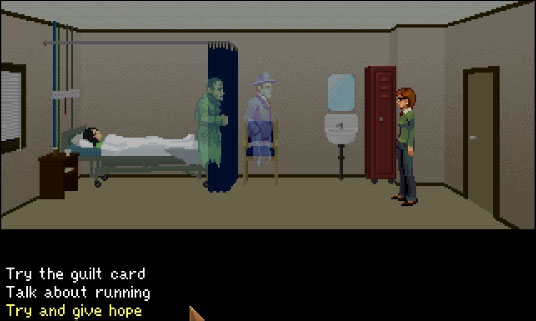
The only way to save Susan is to take care of the Deacon, but there is more than one way to handle the problem with the Deacon. First, you want to convince the Deacon to let you help him. And you want to do this without having Joey pound him into submission.
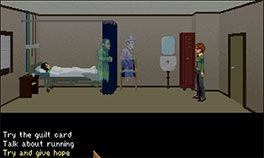
To do this, watch for the following main conversation options and select them: Try and give hope and Because nobody else will help. During the rest of the conversation, always have Rosa try to talk to him instead of letting Joey handle it.
After the Deacon agrees to cooperate Rosa will take him to the place with the bright light. But almost immediately a demon will appear. In order to save the Deacon from the Demon you must identify and then deal with the Deacon's Sins. This is actually much easier than it may initially seem.
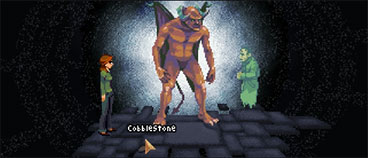
To save the Deacon, first you'll need to pick up the Cobblestone on the ground near the bottom left of the scene. Then talk to the Demon and ask him for his reasons. He'll then tell you that the Deacon still carrys his sins with him.
Next talk to the Deacon and ask him about his flask. Once the Deacon has told you about his flask you need to end the conversation and open your notebook. The Notebook only contains two items, a reference to the Deacon's Sins and a reference to the Deacon's Flask. Combine these two clues and then talk to the Deacon again.
Now that you have the right clue, you can tell the Deacon to drop his flask. He will argue with you, but he will drop the flask. The Demon will comment that this is not enough, so end the conversation with the Deacon. Click on the flask on the ground and choose the option to Smash the Flask with the stone.
That will save the Deacon. It will also trigger the games ending scenes which carry on for a few more minutes. Congratulations, you've now completed Blackwell Legacy!
You can also find this video on YouTube:


