The Countess & The Endgame Walkthrough
Blackwell Convergence
This walkthrough picks up the story when Rosa and Joey return to her apartment after their encounter with Claude and the Countess at the Park Gallery. It continues right through the endgame.
Exposing The Meltzer Foundation
Once Rosa has awakened and the morning chat with Joey is over, your first stop should be the Park Gallery where you can pick up some interesting information.
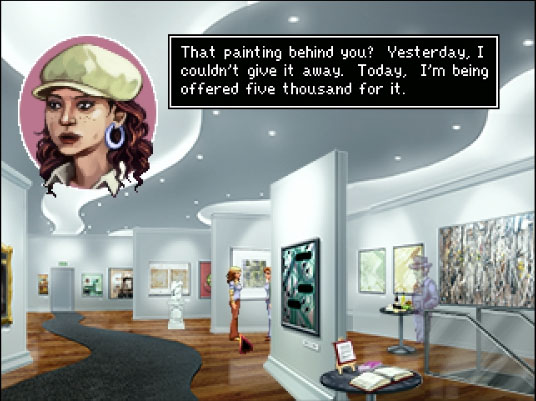
Talk to Josie and ask her about Keeping the gallery open. The main points you must uncover in this conversation revolve around the fact that the death of Claude has made all of his art priceless overnight. This will also make it clear that the Meltzer Foundation has also had a sudden windfall, since they were her investors.
That would make the Park Gallery the second investment of the Meltzer Foundation that we know of to profit directly from the death of someone.
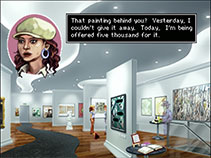
After your conversation with Josie you'll need to head back to the Roosevelt Island Lighthouse. You'll see a man there when you arrive, but don't bother having Rosa talk to him yet.
Switch to Joey and then click on the man's coffee cup. Joey will comment that the words Gold Tech are written on the cup. This is the clue you need.
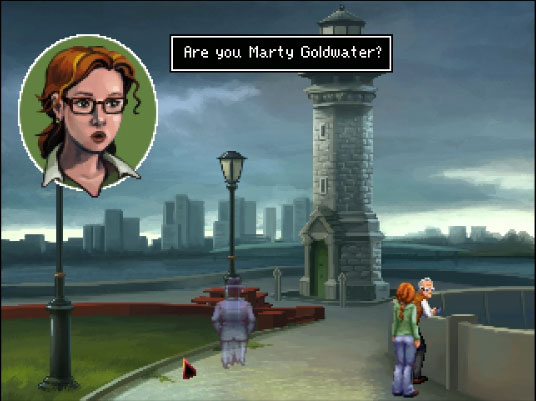
Head back to the apartment and have Rosa search for Gold Tech on the internet. Once she has discovered this clue you can return to The Roosevelt Island Lighthouse and talk to the old man with Rosa.
Knowing the old man's name, and the story about his son, is the key to getting him to talk. Explore the various dialogue options, paying special attention to anything related to his son, Gold Tech, or Lazarus. These are the key points that Rosa will need so that she can make the connections. After your conversation with Marty Goldwater, head back to Rosa's apartment.

This time you need to look up Lazarus on the internet. Once Rosa has done so she will have the phone number and you will be able to call the company.
The company, of course, has an automated system, and you should explore all of the dialogue options. What you are listening for here is the link between Lazarus and the Meltzer Foundation.
After you have confirmed the link between Lazarus and The Meltzer Foundation, it will time to head back and talk to Paul again. This time make sure you drive the point home about all three of the investments that went big after someone died. Once Rosa has driven her point home, she will be asked to leave. Just after you do leave, Joey will poke his head back in and overhear Paul calling Charlie 'Scooter'. If you do hear this line, Joey does not have to stay and eavesdrop. Otherwise have Joey stay long enough to catch the comment.
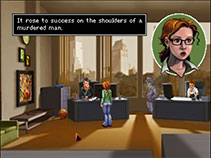
Head back to Rosa's apartment. This time she needs to Login to Bmail as Charles using the password 'Scooter'. She'll quickly notice that the only emails Charlie has are those with the names of the murder victims on them.
After a short dialogue, the Countess will appear and she is looking to 'help' Rosa. As soon as you reach a point where you have control over Rosa, you'll need to click on the Door Knob to have her flee the apartment. As soon as she is in the hallway, have her head into the Trash Room which is the brown door on the right of the hallway.
Joey and the Countess will then come out and after a moment they will continue into Nishanti's apartment. This is Rosa's chance to return to her apartment.
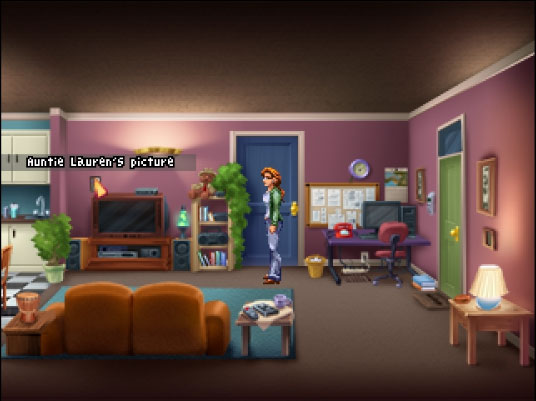
When Rosa is back in her apartment, have her take the photo of her Aunt Lauren off the wall. You should have noticed it light up and fall half off the wall. This will cause Joey and the Countess to arrive. Now you have to move Rosa closer to the Countess. Then use the picture of Aunt Lauren on the Countess.

Madeline & The Diner
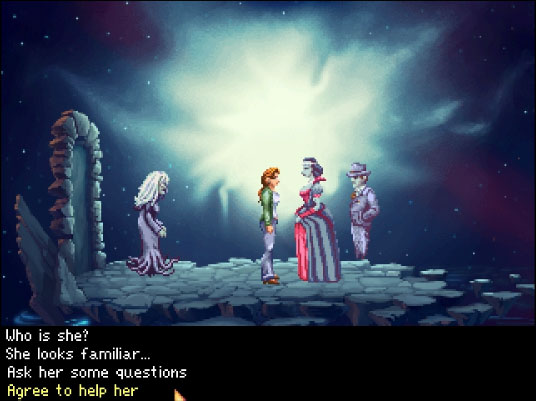
Once Rosa shows the picture to the Countess they will all be transported to the place with the Bright Light. After quite a little dialogue you will have met Madeline, the Countess's former Spirit Guide. You'll also be faced with the simple question of 'Will you help us?'. Needless to say, you have to agree. That will trigger another automated sequence.
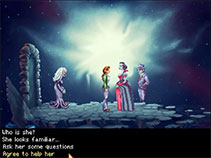
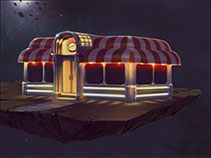
When you arrive at the Diner you'll have a short conversation with Madeline after which you will need to head inside. These dialogues are long, and if you explore all the options, you'll be here a good while.
The quick way through is to talk to Joe Gould. Ask him about Mitchell. Then ask him what he is doing there. You should then be able to ask him about his work. While you will discover that his Oral History has never really been put down on paper, Mitchell will interject, mentioning Joe's Essays. Ask Joe about these Essays and he will give them to you to read. While they are illegible, you can take the paperclip.
As soon as you have taken the paperclip you can end your conversation with Joe. Next talk to Mitchell. The only option you need to explore is asking him about a cigarette. This is all you need from him right now.
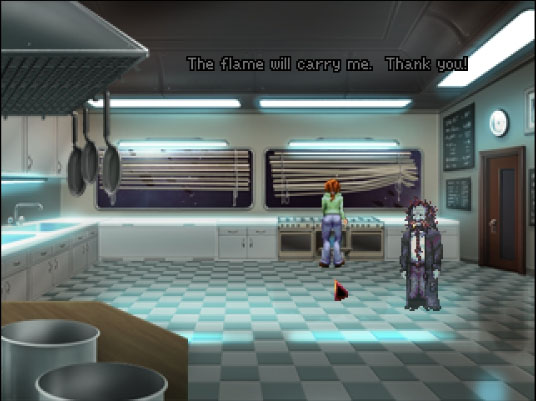
Use the paperclip on the door on the left side of the room. This will unlock the door to the Kitchen and Rosa will head inside. She should also notice something odd about the center oven. Click on it to have her inspect it. Then click on it again to have her talk to the ball of light.
The quick way through this dialogue is to choose the topic about the Countess. Then choose the topic relating to getting her out of here. This way Rosa will learn that the only way to take the ball of light out will be with a source of heat. End the conversation with the light in the oven.
After the conversation with the light in the oven, Joe Gould will enter the room and make a few comments. Have Rosa leave the Kitchen and talk to Mitchell. This time tell him Joe Gould is in another room. He will thank you and during the little conversation he will also give you his pack of cigarettes. End the convversation with Mitchell.
Head back into the Kitchen and use the pack of cigarettes on Joe Gould to give them to him. Then talk to him and ask him about his cigarette. He'll give Rosa a lit cigarette and you can end the conversation.
Now just use the lit cigarette on the center oven. Joe Gould will make a few comments then disappear. Exit the Kitchen and Mitchell will talk to you for a few moments before he too is gone. Have Rosa leave the Diner.

The Countess and Charles Meltzer
Rosa once again wakes up in her apartment, and Joey is convinced that the Countess is after Charlie Meltzer. He is, of course, quite right.
Head over to the Meltzer Foundation and Rosa will have a very quick conversation with a rather traumatized Paul before heading up to the roof.
As soon as you are on the roo,f you'll see the Countess preparing to throw Charlie to his death. Just select the Cigarette from Rosa's inventory and click on the Countess. This will distract her from Charlie, and this will also unlock the Steam Achievement Reluctant Savior.
With the Countess distracted, she soon turns her fury on Joey. After a brief scuffle Joey's tie will land at Rosa's feet and you'll be able to control Rosa.
Pick up Joey's tie, and then get ready to use it on the Countess. She will keep casting spells at Joey, and each time she does, she pulls her arm back for a few moments. When her arm is back, use the tie on her arm. This will immobilize her. Then switch to Joey as quickly as possible and click on the Countess.

As soon as Joey has pushed the Countess into Rosa, the endgame begins. Congratulations, you have finished The Blackwell Convergence.
If you're interested in Unlocking all of the Steam Achievements, you can check out our guide:
Blackwell Convergence - Steam Achievements
You can also find this walkthrough on YouTube:
The Countess & The Endgame Walkthrough - Blackwell Convergance

