Jeremy Sams Walkthrough
Blackwell Deception
This walkthrough picks up the story at Rosa's apartment the morning after the incident with the Yacht. We'll take you from the discovery of Jeremy Sams, through laying his spirit to rest, to the wrap up, by uncovering two more potential victims, Jamie Graham and Tiffany Walters.

Meet Jeremy Sams
As soon as Rosa is done talking to Jeremy on the phone have her leave the apartment and head over to his place.
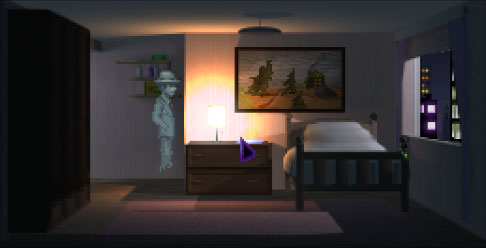
It is clear the moment that Jeremy Sams enters the room as a ghost that there is something seriously wrong. Nothing you can say to him, however, will really help. He doesn't know he's dead, and he really needs help with his investigation. Make sure you exhaust all dialogue options so that you know to look for his notebook.
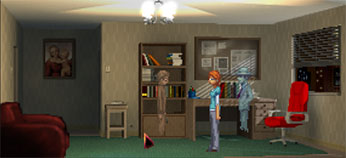
On the table closest to his apartment door there is a pile of photos. Have Rosa look at them. You'll be needing one of them on your next visit.
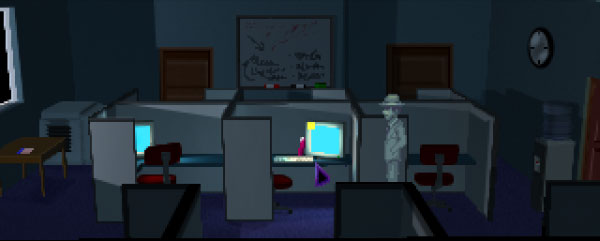
For now, head over to The City Post where Jeremy worked as a reporter. The Receptionist will greet you, but the conversation won't exactly go well. Exhaust your dialogue options and then end the conversation.
You need to use Joey for this part. Switch to Joey, and then click on the upstairs office door. He'll float up and head into the office.
Right now there is only one thing that Joey can do. He can look at the Post-It note on Jeremy's computer screen. This will add a new map point for you to explore.

Have Joey leave the office, then switch back to Rosa. Have her leave the building and head over to the High Line.
The High Line Murder Scene
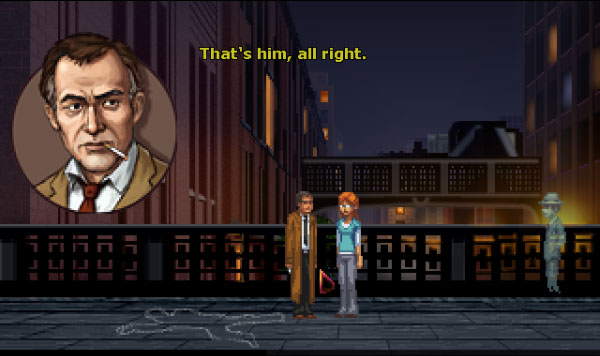
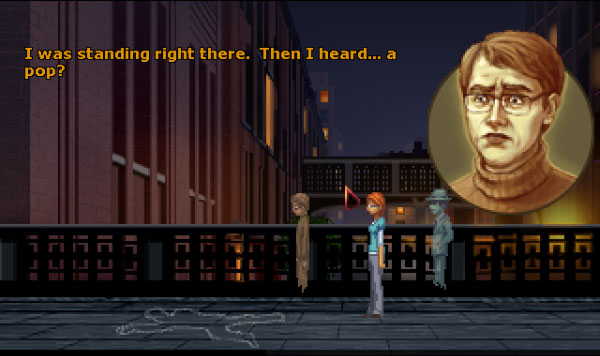
Upon arriving at the High Line Rosa will spot a cop looking at a chalk outline. That would explain a bit about Jeremy's condition. Talk to the Detective and exhaust all dialogue options. When your only option left is either to leave or say he's being difficult, it's time to leave.
Head back to Jeremy's. All you need to do is click on the photos on the table nearest the apartment door. This will prompt Rosa to ask if she can take the Photo. Once Jeremy has let Rosa have the Photo it's time to head back to the High Line.
This time don't even bother trying to talk to the Detective. Just select the Photo from Rosa's inventory and use it on the Detective. It won't take Detective Durkin long to confirm that this is indeed the man that was killed. He'll ask Rosa for a bit of information, then head on his way.

Penelope Haines
Your next stop is The City Post. By the time Rosa gets there the police will have already called. This will change everything with the receptionist and she will be more than happy to cooperate with Rosa.
Have Rosa head up to Jeremy's office by clicking on the elevator and then on the office door. Inside there are 3 things of note, and one of irony. Have Rosa take the notebook from the desk right next to the computer screen. Look at the Post-It Note on Jeremy's screen. Then take the Press Pass from the table on the left side of the room. Next have Rosa inspect the big White Board along the back wall.
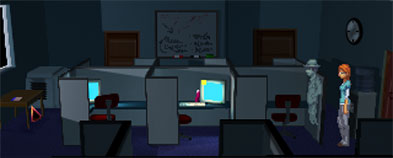
Before leaving the Office, make sure you have looked at the Notebook and clicked on each entry to have Rosa read them. You want to make sure you'll have these points as dialogue options later.
You need to talk to Jeremy again. Exhaust the dialogue options and make sure he gives you the information on Penelope Haines. He still won't be ready to accept matters and move on, but he is helping your investigation move forward.
Now head over to the Haines' apartment. You won't find Penelope, but you'll get her unpleasant daughter-in-law. When you go to leave, you are asked if Joey should stay behind. Select Yes.
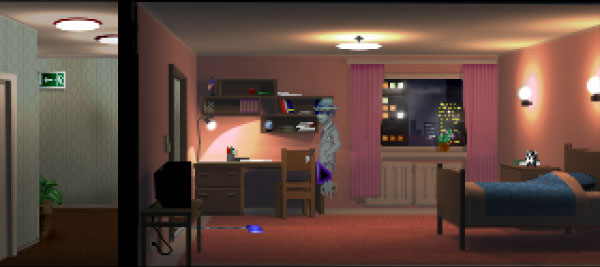
Have Joey head into the bedroom through the door at the top of the screen. In this room there are two things you need to see. The first is a brochure on the table next to the bed. The second is a green necklace hanging on the bottom right post of the bed.
Once Joey has instpected both items it's time to leave. Your next stop is Seagram Assisted Living.

When you arrive at Seagram Assisted Living, have Rosa talk to the Receptionist and exhaust all of the dialogue options. Then take a Brochure from the back wall between the elevator and the Receptionist.
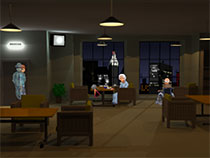
Take the elevator to the Common Room. Before you talk to Penelope Haines take the Yarn from the table in front of her. You'll need this a bit later. Then talk to Penelope and exhaust all dialogue options.
Once you are done you'll have enough information to go back to the Haines' apartment and ask some more questions. You'll be making a few trips back and forth.
The Peridot & The Trail of Gavin
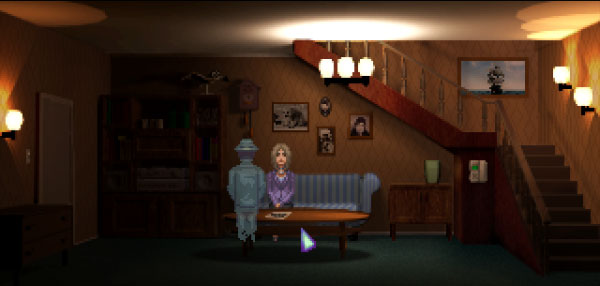
Head back over to the Haines' residence. Exhaust all of your dialogue options. You'll discover that Penelope Haines had been brainwashed by a cult, at least according to her very bitter daughter in-law.
Yep, you guess it, it's back to see Mrs. Haines at Seagram Assisted Living. This time when you talk to Penelope you'll eventually get a reefrence to a Peridot, a necklace that is very dear to Mrs. Haines. She will, of course, deny having ever been given a key to the Haines residence to visit. You'll need to get that key one way or another.
Take the elevator back to the lobby. This time when you see Receptionist she has a yellow chart in front of her. Switch to Joey and have him take a look at the chart. It's a clearning schedule, and on it Joey finds Mrs. Haines' apartment listed.
There is a Steam Achievement coming up. And you have to get it right on the first shot for it to unlock. So if you don't get it right the first time you can reload the game. Or you can reload the game's autosave, allowing you to just return to the apartment and try again. You can also reset the puzzle (but the achievement won't unlock) by talking to the Receptionst about Mrs. Haines' room.
Steam Achievement Key Snatcher is unlocked as follows: As Rosa uses the item Brochure/Yarn on the apartment door, swtich to Joey and have him blow on the brochure. This should cause it to move closer to the chair. Blowing on it more than once has no ill effect. Once this is done, have Joey blow on the key. This will knock the key down onto the Brochure/Yarn. Switch to Rosa and click on the piece of yarn on the floor.

With the Key in hand, head over to the Haines' apartment one last time. Exhaust all dialogue options with Madison. You'll be told not to come back. But that doesn't really matter. When you actually leave, immediately select the Haines' apartment as your next destination.
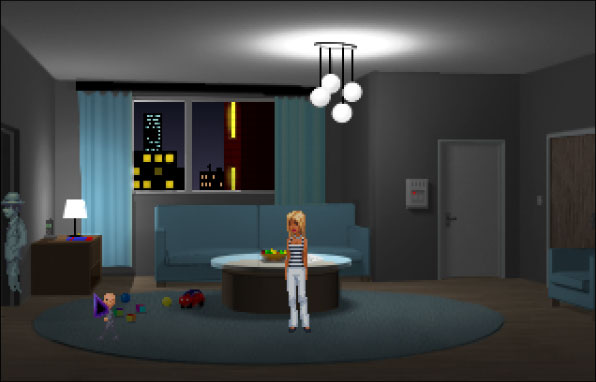
This time no one is home and the lights are off. When you are given options, select Use Key. This will let Rosa into the apartment. Then immediately click the bedroom door.
The Peridot necklace is on the bottom right corner of the bed. Have Rosa take it and then attempt to leave the bedroom. Madison will arrive home, trapping Rosa. The Steam Achievement Out Of Sight is unlocked if you are careful with this next part.
Please note that there is another achievement available here as well, but we recommend saving your game first. The Steam Achievement Face Plant is accomplished by following the instructions below but DO NOT have Joey blow on the Thermostat. Then Madeline won't open the door. But still send Joey through the door, and the Baby will still follow... You can likely see where this goes.
Switch to Joey and send him into the main room. Have him use his Wind power on the big Thermostat on the wall near the bedroom door. Madison will comment that it is hot and open the door on the far side of the room. Have Joey interact with the Baby. This will get the baby's attention. Next click on the doorway on the far left of the room so that he leads the baby, and therefore Madison, out of the room.
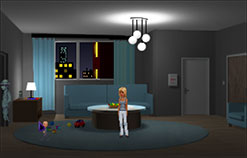
The game should switch you back to Rosa. Click on the bedroom door to have her enter the main room, then immdeiately click on the apartment door to have her leave before she can be spotted. After she exits the apartment unseen, the Steam Achievement Out Of Sight will unlock.
Take the Peridot back to Mrs. Haines. She will be pleased to have it back and will agree to put you on the trail of Gavin. The contact she gives you is a Healer/Phsychic named Lisa Tenzin.
A Psychic and a Lost Cell Phone
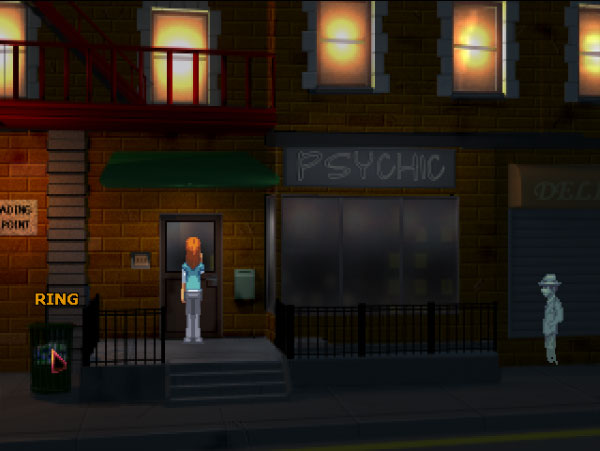
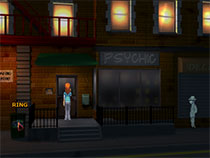
Head over to talk to the Psychic, Lisa Tenzin. When you get there, don't immediately go inside or touch the buzzer. Instead, call Jeremy with your cell phone. He lost his, remember? This will make his phone ring from inside the garbage can. After his answering machine message plays, Rosa can recover the phone from the garbage can. This will also unlock the Steam Achievement Dumpster Diver.
Laying Jeremy Sams to Rest
With Jeremy's phone in hand, you are now ready to go meet the psychic. After your meeting with her, the Steam Achievement Check out the Competition will unlock.
During your conversation with Lisa make sure you exhaust all of the dialogue options and make mention of Jeremy's phone. This will set her off nicely.
With Jeremy's lost cell phone you will now be able to make him face some hard facts. Head back to his apartment.
When you get there, talk to him about Penelope and the conversation should work its way to Lisa Tenzin the Psychic. After this chat, have Rosa use Jeremy's cell phone on him. This will spark a bit of a confrontation after which Jeremy runs off to an appointment at the High Line. Follow him.
Rosa catches up to Jeremy at the High Line where he has already realized he is dead. He does, however, confirm that Lisa Tenzin had set him up for a meeting with Gavin.
Have Joey use his Tie on Jeremy to send him and Rosa on their way.

On the trail of Jamie Graham and Tiffany Walters
Since Jeremy has confirmed that Lisa sent him to Gavin, it's time to head back and confront Lisa. Unfortunately, Lisa is no longer taking clients and will say no more.
Switch to Joey and click on Lisa's door. There is no one in the crystal ball room, so click on the door on the far right.
This will put you in Lisa's living room where she is sitting staring at a photo. Have Joey go over and look at the photo. He will recognize the man in the photo. Have Joey leave Lisa's place and this will trigger a dialogue between Joey and Rosa. Afterwards, switch to Rosa and head back over to Seagram Assisted Living.

When Rosa arrives at Seagram have her ask the Receptionist about Danny Marconi. She will tell Rosa that he died in his sleep earlier that day. This is the clue you need. Head back over to Lisa's.
Have Rosa buzz up to Lisa. This time after she says that she isn't seeing clients today, Rosa will get an option for Danny Marconi. After that, you will need a bit of help from Joey to convince Lisa you know about her Grandfather.
Once she lets you in, have Rosa exhaust all of the dialogue options, which will then give you your next two leads. Lisa sent both Jamie Graham and Tiffany Walters to see Gavin.
Wrap-Up
At this point you can choose which lead to investigate first. It doesn't have any tangible effect on the game. Our walkthrough therefore continues with either:
Jamie Graham Walkthrough - Blackwell Deception
or
Tiffany Walters Walkthrough - Blackwell Deception
This walkthrough can also be found on YouTube:


